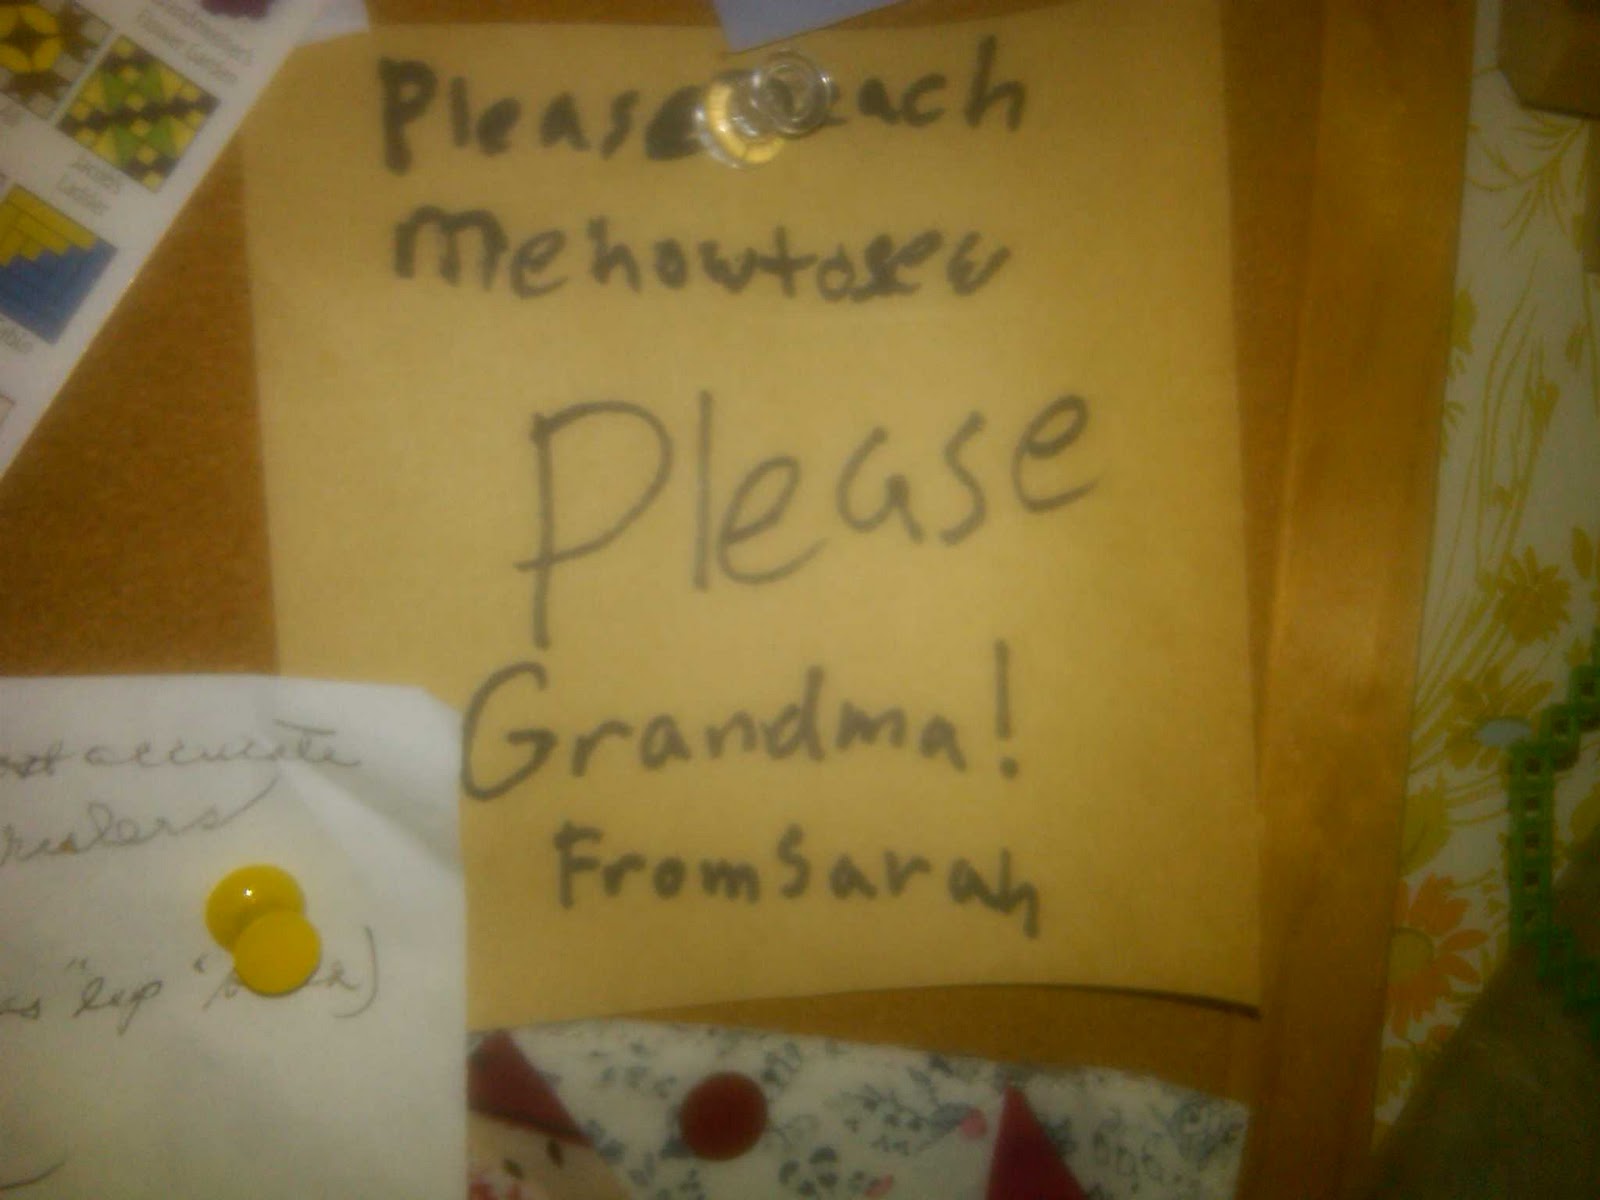
This is the note I wrote for my grandma when I was 9 or 10. While my sister and I were cleaning out her sewing room last weekend, I noticed that it was still up on her cork board, where she had put it so many years ago. I remember seeing all the other papers and patterns and measurements come and go around it, but the note stayed. I guess it had never occurred to me that the little note would mean that much to her. She taught me everything she knew about sewing and fabrics and I am eternally grateful to her. I love being able to sew and create things and know that she is with me and that that part of her lives on through my sister and I.
In high school, my grandma would take my sister and I to a quilt retreat for a long weekend. She and I were always the youngest people there and we never realized what an impact that had on my grandma and the other ladies at the retreat. I haven’t gone since I went away to college, so this year my sister and I have decided to attend on our own. It will be the first time going since our grandma passed and the first time Cassie and I will be going together. The retreat ladies are excited to have us and a part of me is excited too. I think it’s definitely going to be emotional for both of us. But beyond that, I think it will be a great time to get some projects done. I have a quilt that I started at a retreat while I was in high school that I am determined to finish as well as a quilt I want to start for my mom and stepdad. Overall, I think it’s going to be a great bonding experience for my sister and I. As long as we don’t argue haha
How To: Tie Blankets
Fall is upon us! And with fall comes the urge to comfy, cozy, and warm. A great way to achieve such a state is a fuzzy blanket. Fleece Tie Blankets are perfect super easy and fast to make. I get a lot of people coming into Joann’s looking to buy fleece for these blankets and many of them have questions about how to make them. SO, i thought it would be a good idea for my blog!
What you need:
- 2 pieces of Fleece: 2-2.5 yards will do depending on how tall the blanket user is. I like big blankets so I use 2.5 yards.
- FABRIC scissors. When dealing with sewing its always smart to have a certain pair of scissors that you ONLY use on fabric.
- A large enough space to lay your fabric out flat and sit around it. I use my living room floor.
- Confidence! You really can’t mess this blanket up too badly so don’t stress it!
Step 1.
Lay your fleece pieces on top of each other. If one(or both) is printed make sure the tops face away from each other. Line up your edges and corners and smooth your fabric out.
Mine this time is Green Bay Packers colors. I made it for a friend of my moms. Smooth out the wrinkles as much as possible. Fleece is pretty workable so it shouldn’t be difficult.
Step 2.
Get your SCISSORS! I usually start cutting on a short end of the blanket, creature of habit I guess. Make your first cut about 10in. from the left hand corner. Make your strip 8in long and 2-3in wide. See picture below:
Step 3.
Make some knots! This ill make sure that the bottom color shows on the top.
Knot your top to your bottom, like the first step of tying your shoe.
Then knot your bottom to your top. This ill make sure that the bottom color shows on the top.
Keep cutting and knotting all the way down the side. I usually cut a few, knot them, cut more, etc. Stop when you get 8-10in away from your next corner.
Step 4.
The corner!!! I get more questions about the corners than anything else. They can be pretty tricky but I think I’ve found an efficient way to get them done. Start on your next side just like you did the first one, Leaving a square of fabric in the corner.
Alright, time to conquer the corner!!! Face the corner so that it looks like a diamond. Cut off the left and right corners of the diamond so you have a strip of fleece left. Depending on how wide this strip is, you might have to cut it into 2 strips (like i did). Snip off the pointed ends and knot your tops and bottoms just like the rest.
TA-DA! One corner! You did it!
Repeat steps 1-4 and you’ll have yourself a blanket in no time! Told ya it was easy 🙂 If you have any questions I’m more than happy to answer them! Get creative with your fleece too! And it doesn’t matter if you use Blizzard or Anti-pill fleece. They are both snuggley!
Good Luck and Happy Crafting!
UNC Throw
This was one of my early pieces I made, that I have a picture of. In high school, my boyfriend was accepted to UNC at Chapel Hill. As a graduation gift I wanted to make him something UNC related but I couldn’t really find fabric or pattern that I wanted to use. So, with my grandmothers help, I designed my own pattern and template for a throw:
I must say, I was pretty impressed with the final product. There were SO many elements in this blanket that I had never used before. I appliqued the NC logo, “Tarheels” and UNC letters; a pretty big project in itself! I free hand stitched the “North Carolina” at the top of the blanket. Another large task to take on! I couldn’t have done it without my grandmothers help, and to her I’m eternally grateful. She was an amazing sewer who taught me everything I know! I don’t know if my Ex still uses this blanket but I sure hope he appreciates the work and thought that went into it!


